
Install
Install the application on Windows
ColdAisle manages the whole datacenter and is meant to stay on-premise. The software runs on your IIS + PHP + SQL Server box. After setup.php, a short wizard and a live-UI tour get you to the first rack. This website is marketing only — it does not host your inventory.
Self-contained by design.
There is no ColdAisle cloud. You keep the database, backups, and SNMP credentials. Open source so you can verify that.
Requirements
| Layer | Need |
|---|---|
| OS | Windows Server (2019/2022/2025) or Windows 10/11, with IIS |
| PHP | 8.0+ NTS FastCGI — pdo, json, mbstring |
| Database driver | pdo_sqlsrv or pdo_odbc + ODBC Driver 17/18 for SQL Server |
| Database | Microsoft SQL Server 2016+ (Express is fine) |
| Optional | ldap (LDAPS), snmp (web Discover), curl (Entra + updates), zip (backups) |
Tested on Windows Server 2025, SQL Server 2022, IIS + PHP 8.x via the public installer scripts.
Recommended install
Administrator PowerShell. Read the script before you run it.
Set-ExecutionPolicy Bypass -Scope Process -Force
Invoke-WebRequest -Uri "https://raw.githubusercontent.com/sabap/ColdAisle/main/Install-ColdAisle.ps1" `
  -OutFile .\Install-ColdAisle.ps1
# Optional: review
notepad .\Install-ColdAisle.ps1
.\Install-ColdAisle.ps1 -OpenSetup| Switch | Purpose |
|---|---|
-OpenSetup | Open setup.php after post-install checks |
-EnableSnmp | Enable PHP extension=snmp for in-browser Discover |
-RegisterSnmpTask | Register the Task Scheduler poll job |
-Force | Refresh app files / PHP (preserves config\config.php) |
-Version 0.2.x | Pin a release tag instead of latest |
Default deploy path: C:\inetpub\wwwroot\ColdAisle. Then:
- Install or point at SQL Server if you do not already have an instance.
- Complete
setup.php— SQL connection + first administrator (you choose the password). - Delete
phpinfo-test.phpif present. - Optional: Settings → SNMP schedule, or re-run the installer with
-RegisterSnmpTask.
Then the product takes over
- Sign in as the admin you just created.
- The setup wizard asks only what this site needs. Skip LDAP, mail, or SNMP if you are not there yet.
- Hall width and depth are the room on the floor plan. Pick feet or meters — ColdAisle still stores meters so a 10.06 × 11.89 m hall does not become 40 × 25 by accident.
- Finish, then take the site tour (or start it later under Settings). Flags follow you from the dashboard to the planner.
- Dashboard Next useful clicks send you to place cabinets, add a device, hang a PDU, or turn on the SNMP schedule.
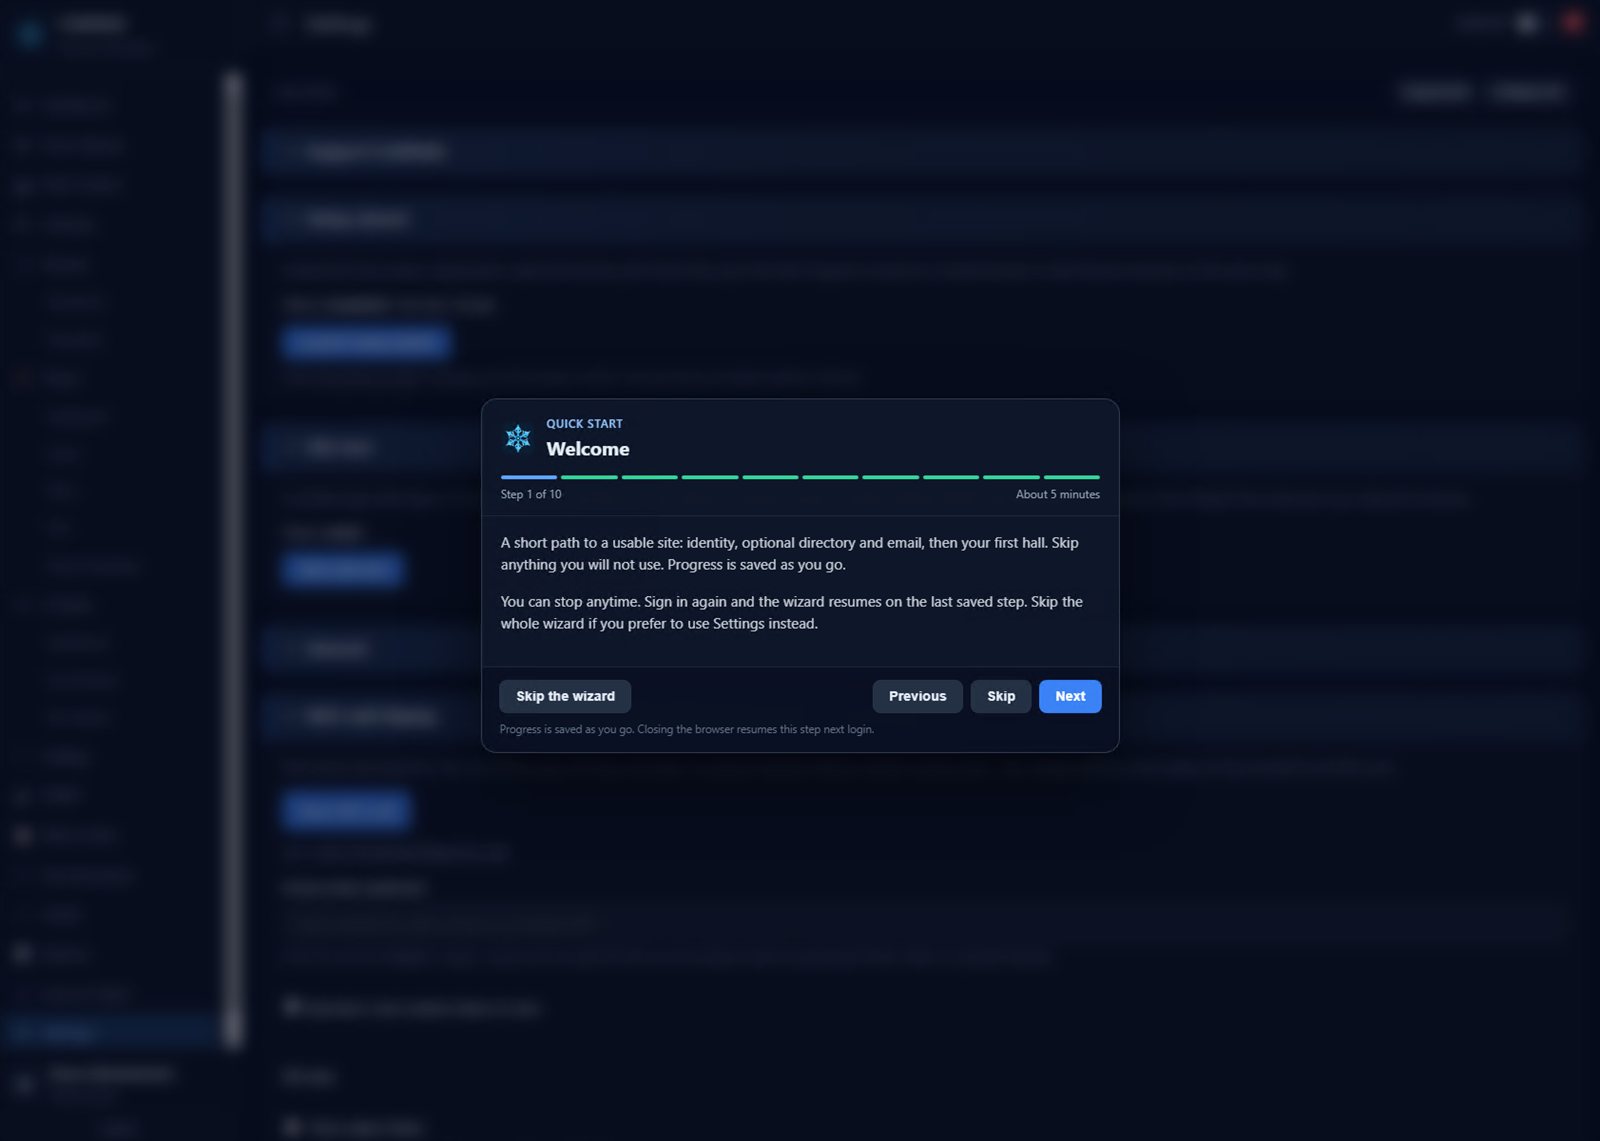
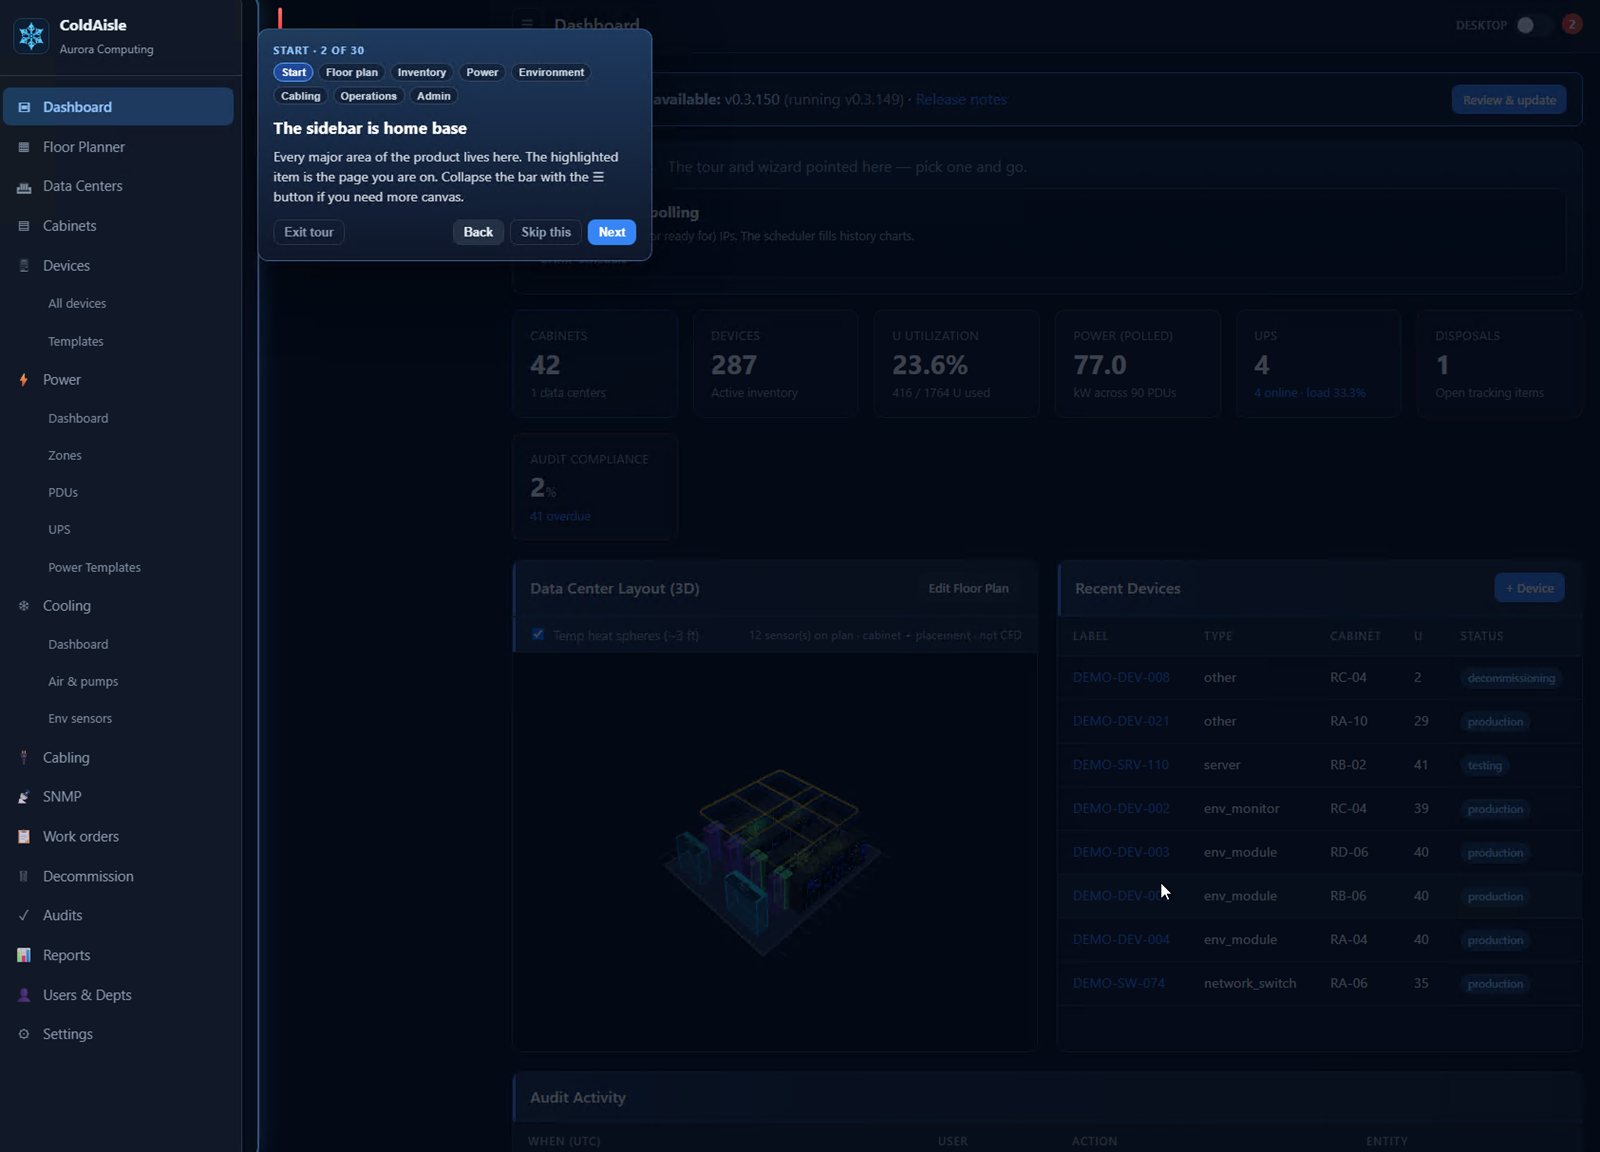
DCIM is useless until someone knows where to click. ColdAisle puts the wizard and the tour on the real floor — then gets out of the way.
Once the hall exists
- Data Centers → rooms → Floor Planner to place cabinets (or follow the tour’s + Cabinet step).
- Cabinets → Rack View to fill U-space.
- Power zones / PDUs, then Cabling and raceways.
- HTTPS + Entra or LDAPS when you are ready (Entra needs a real cert binding).
- Settings → Updates to take later GitHub tags in-app. Relaunch the wizard or tour from Settings if you onboard someone new.
Running it on a real floor? Using ColdAisle? Tell us about it.
This website is not the product.
ColdAisle-web is a public marketing site on Linux + PHP. The DCIM app stays on customer Windows. Do not expect to log in here.